


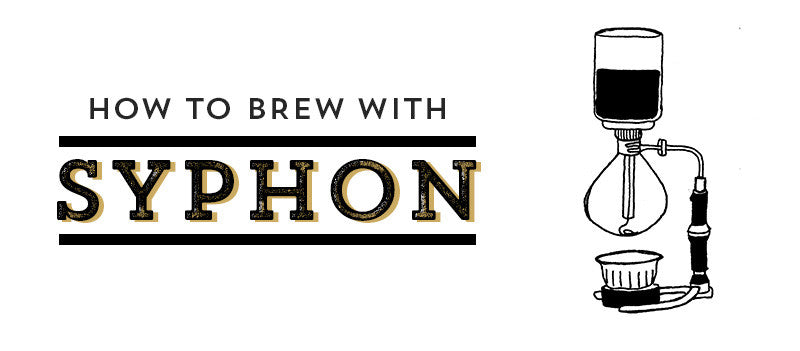
Home Brewing Guide: Using Your Coffee Syphon

While syphon coffee brewers may have only recently become a trend, the method has been around since the mid 1800s when people started to experiment with vacuum and vapour pressures. Syphon brewers are still niche, but are becoming increasingly popular with people who are focused of quality over convenience. They are not particularly popular home-brewers, but can often be found in specialty coffee shops, and are a great option if you want to try something a little unusual. This method is celebrated for producing a clear, crisp cup that showcases the nuanced flavours of your coffee's varietal and country of origin.
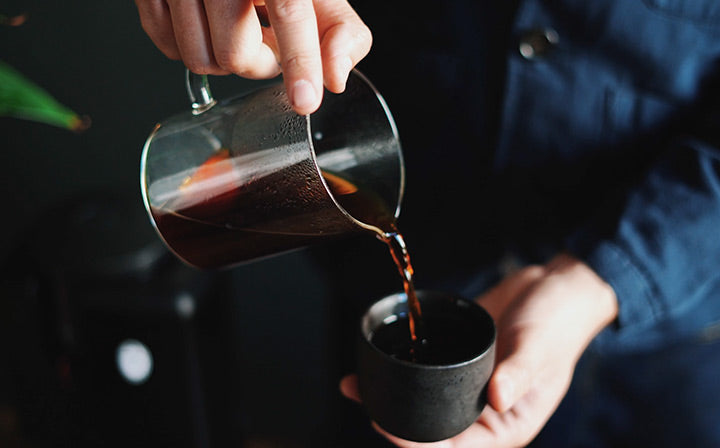
A syphon brewer is essentially two Pyrex bowls held together by a frame over a heat source. The lower vessel is filled with water and is heated, creating vapour which forces the water to rise into the upper vessel. Here, it is mixed with the coffee grounds and is steeped. When the heat source is removed and brewing has finished, the pressure in the vessel drops, drawing the coffee back down into the lower vessel through a filter and leaving a lovely resulting brew!
The method is well preserved and has certainly stood the test of time, even though it can seem a little complicated and tricky at times. When you get your head around the way they work, they become quite straight-forward. We often enjoy a cup brewed in this way at Coaltown, and there is no reason not to extend this to a home setting. The process is a theatrical, exciting, multi-sensory experience that really allows you to make the most of your beans, and we thoroughly recommend it!
Using Your Syphon Brewer
Step One: Ensure that your syphon is set up correctly and is ready to use by soaking the filter in warm water for around 5 minutes and securing it by pulling the chain firmly. Place the upper bowl into the frame/holder.
Step Two: Weigh and grind 25g of coffee to a medium-fine coarseness. You might want to experiment with your brew-size depending on your chosen filter. We like to use cloth filters, but there are a lot of options.
Step Three: Pour 400g of hot water into the lower bowl.
Step Four: Ignite the burner and wait for the water to rise to the upper bowl. You should adjust the flame until the temperature stabilises at around 87 degrees.
Step Five: When the temperature is right, add your ground coffee to the upper bowl. You'll need to gently incorporate the coffee grounds into the top layer of hot water with a spoon/paddle. Make sure that you do this very delicately - you only want to moisten the grounds. It should take roughly 30 seconds.
Step Six: Let the coffee brew for 20-40 seconds, and then stir it a little.
Step Seven: Remove the heat source from your set-up and turn off the burner. Your brew should descend to the lower vessel after about half a minute.
Step Eight: To remove the upper bowl, gently twist and pull it out of the lower bowl. This will leave you with a lovely pouring vessel for your coffee.
Illustrations by Bronwen Bender. Visit her website here.

Written by Scott James

